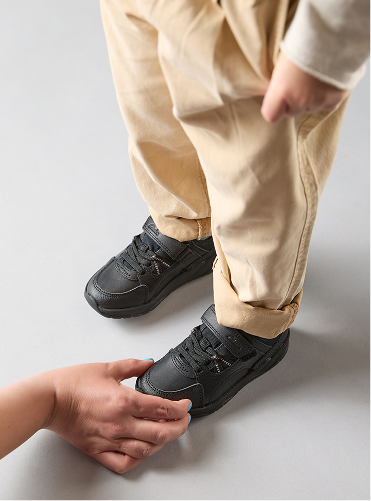
Step 1: Length
Check growing room! Ensure 14mm from the longest toe (10mm for sandals/pre-walking styles). Gently press the shoe’s top to feel for comfortable amount of growing room.
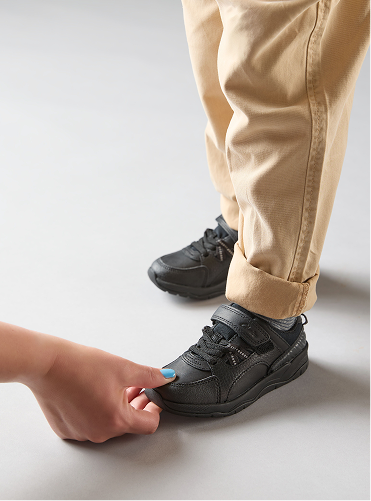
Step 2: Width
Feel along each side of the shoe, making sure there’s no pressure or pinching and plenty of space for your child to comfortably wriggle their little toe.
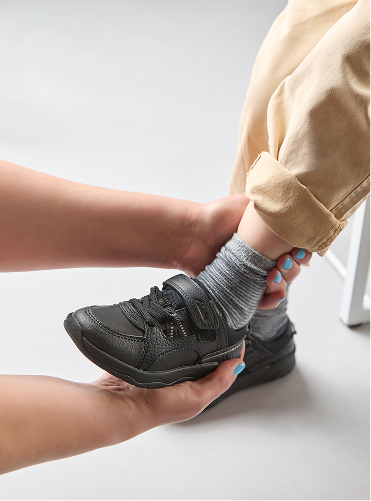
Step 3: Ankle
1. Make sure the shoe fits snugly around the ankle with no gaps. It shouldn’t feel tight, unless there’s soft padding, which allows for a closer fit.
2. With your child seated and feet flat, lift one foot and gently pull down on the heel. The shoe should stay on without slipping.
Step 4: Walking
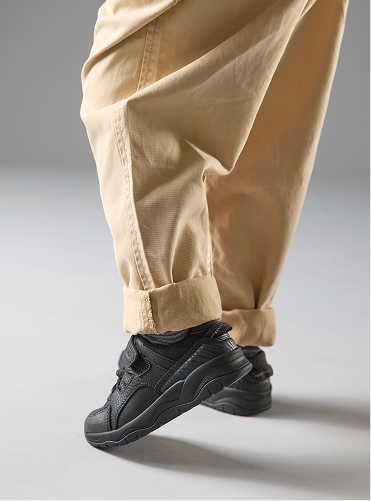
Most importantly, make sure their new shoes feel great to move in! As they walk, check for natural steps, a secure heel grip, and minimal gaping at the sides.
Skip the queue and book an in-store appointment today
Book an in-store appointment
More to explore
Updated on:



?fmt=auto&w=650)
